Quick update

Designing screens

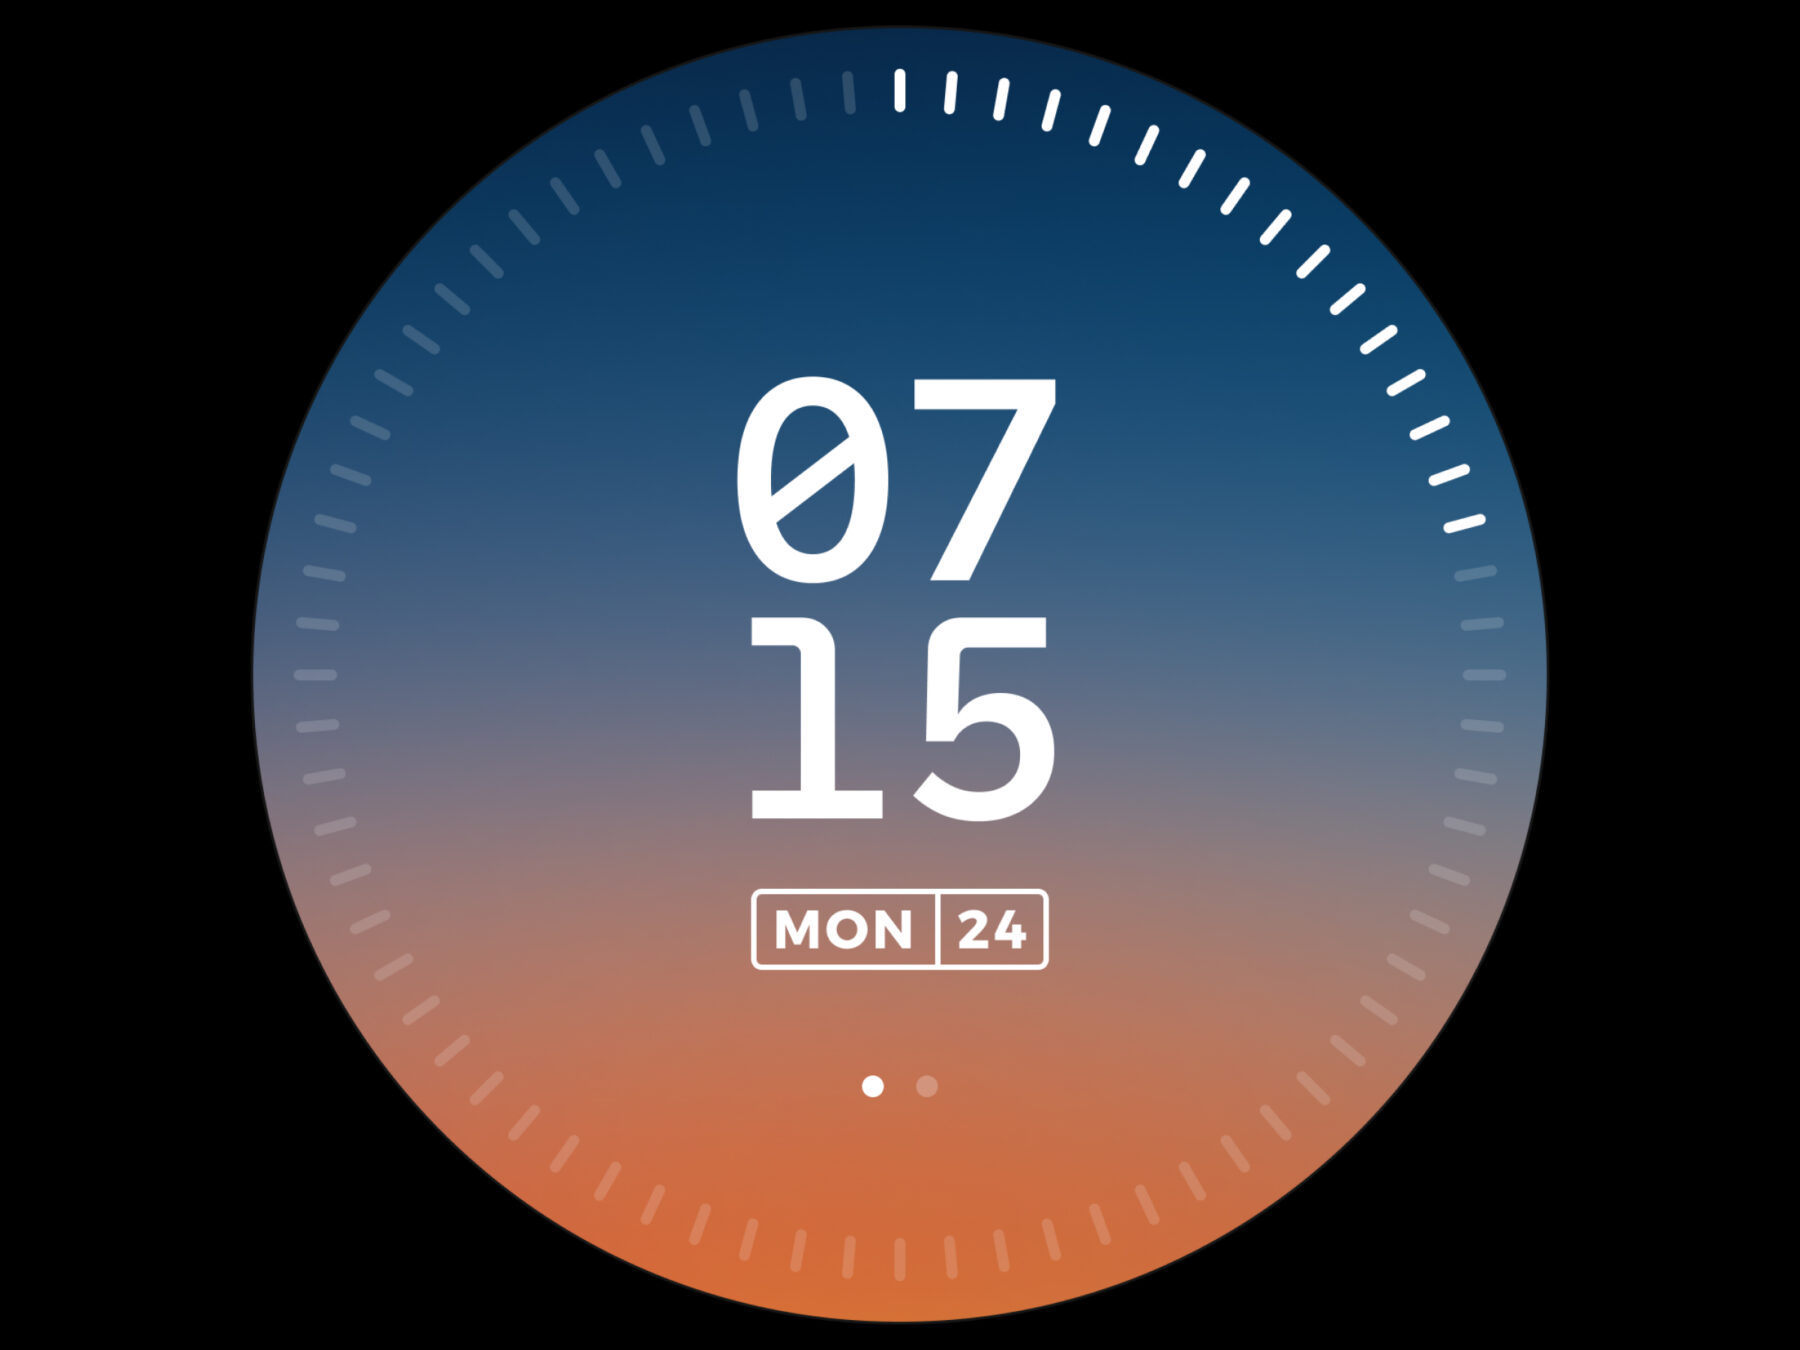
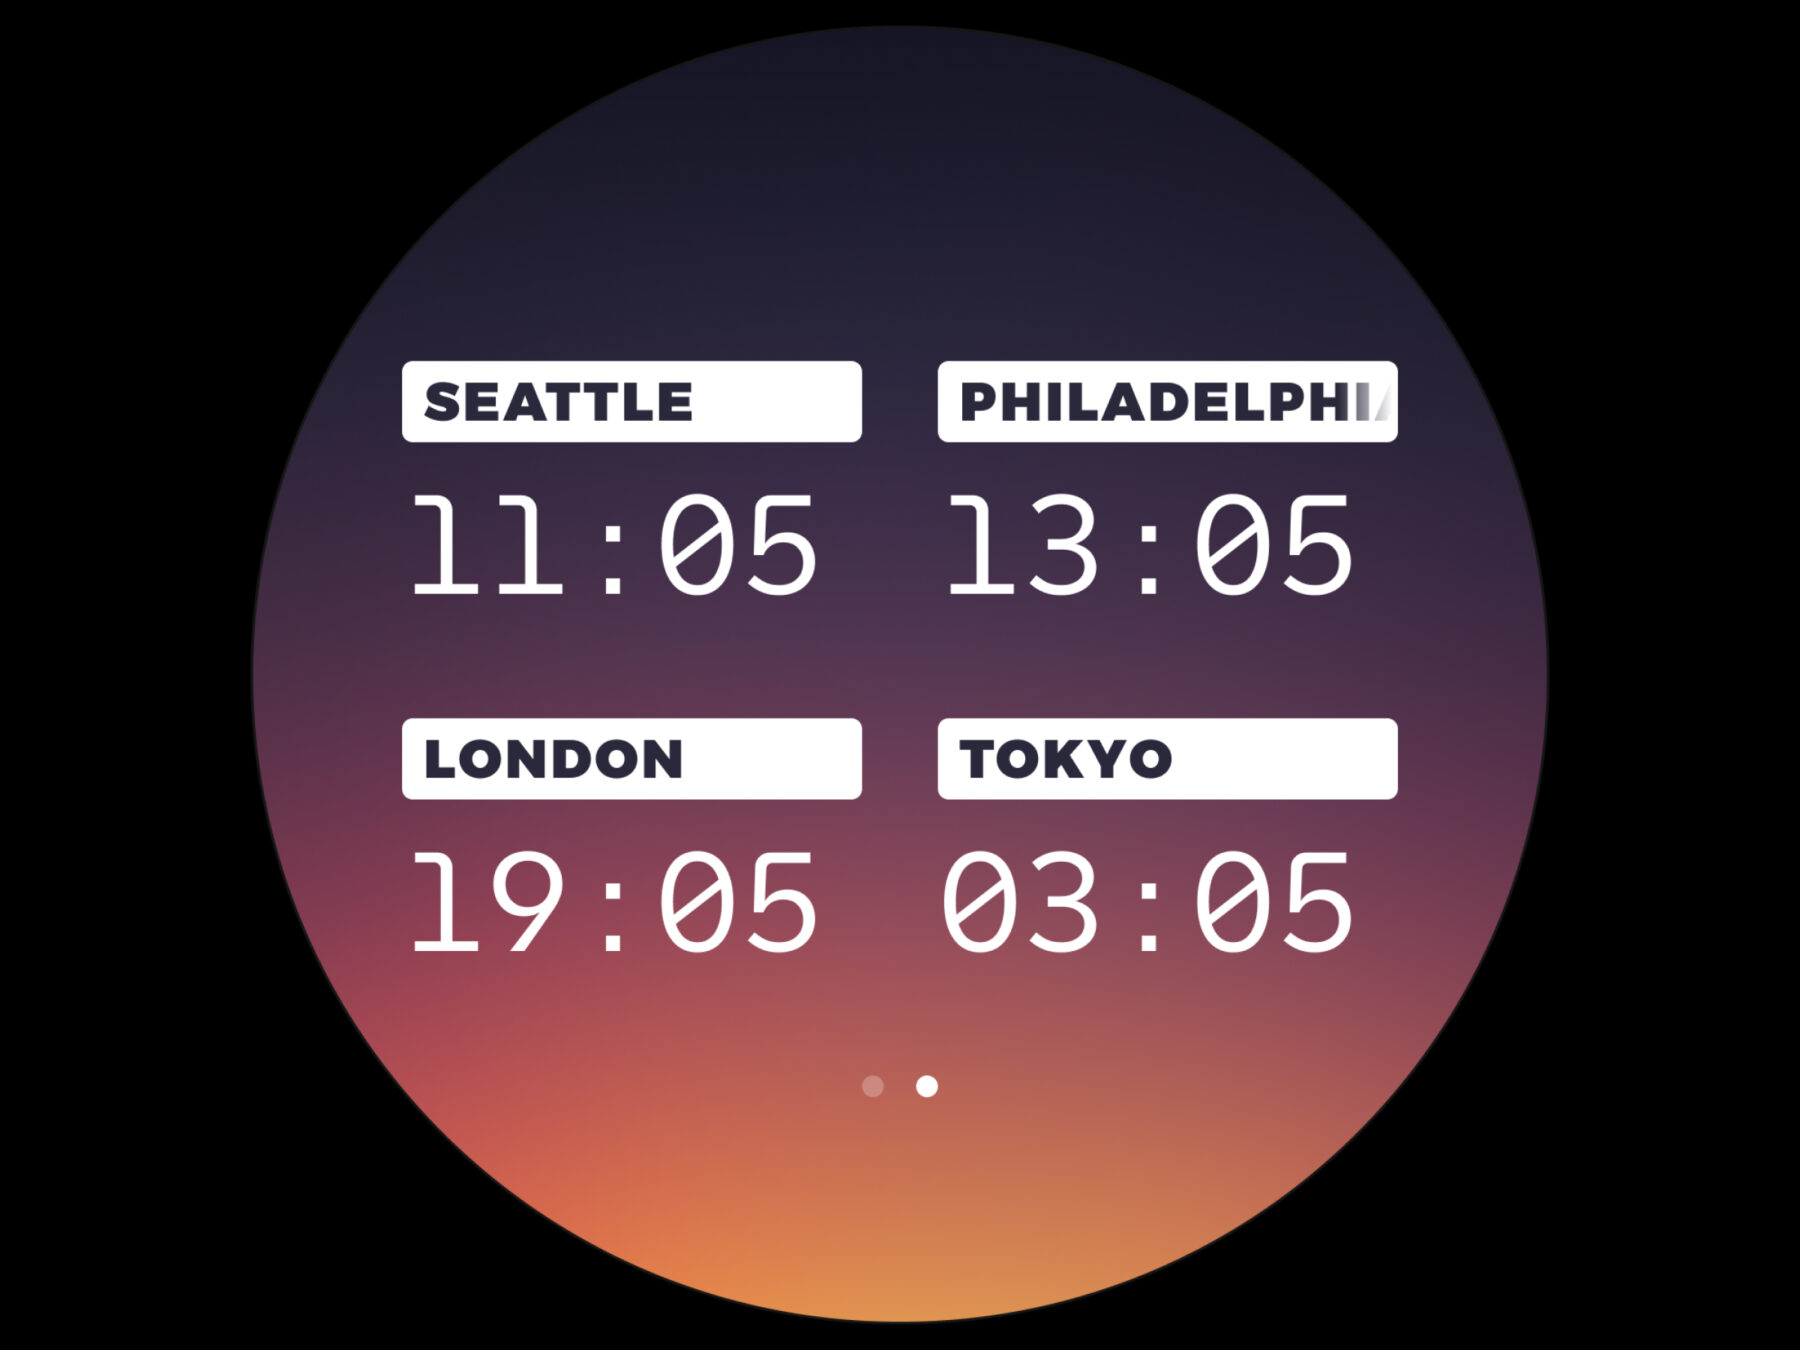
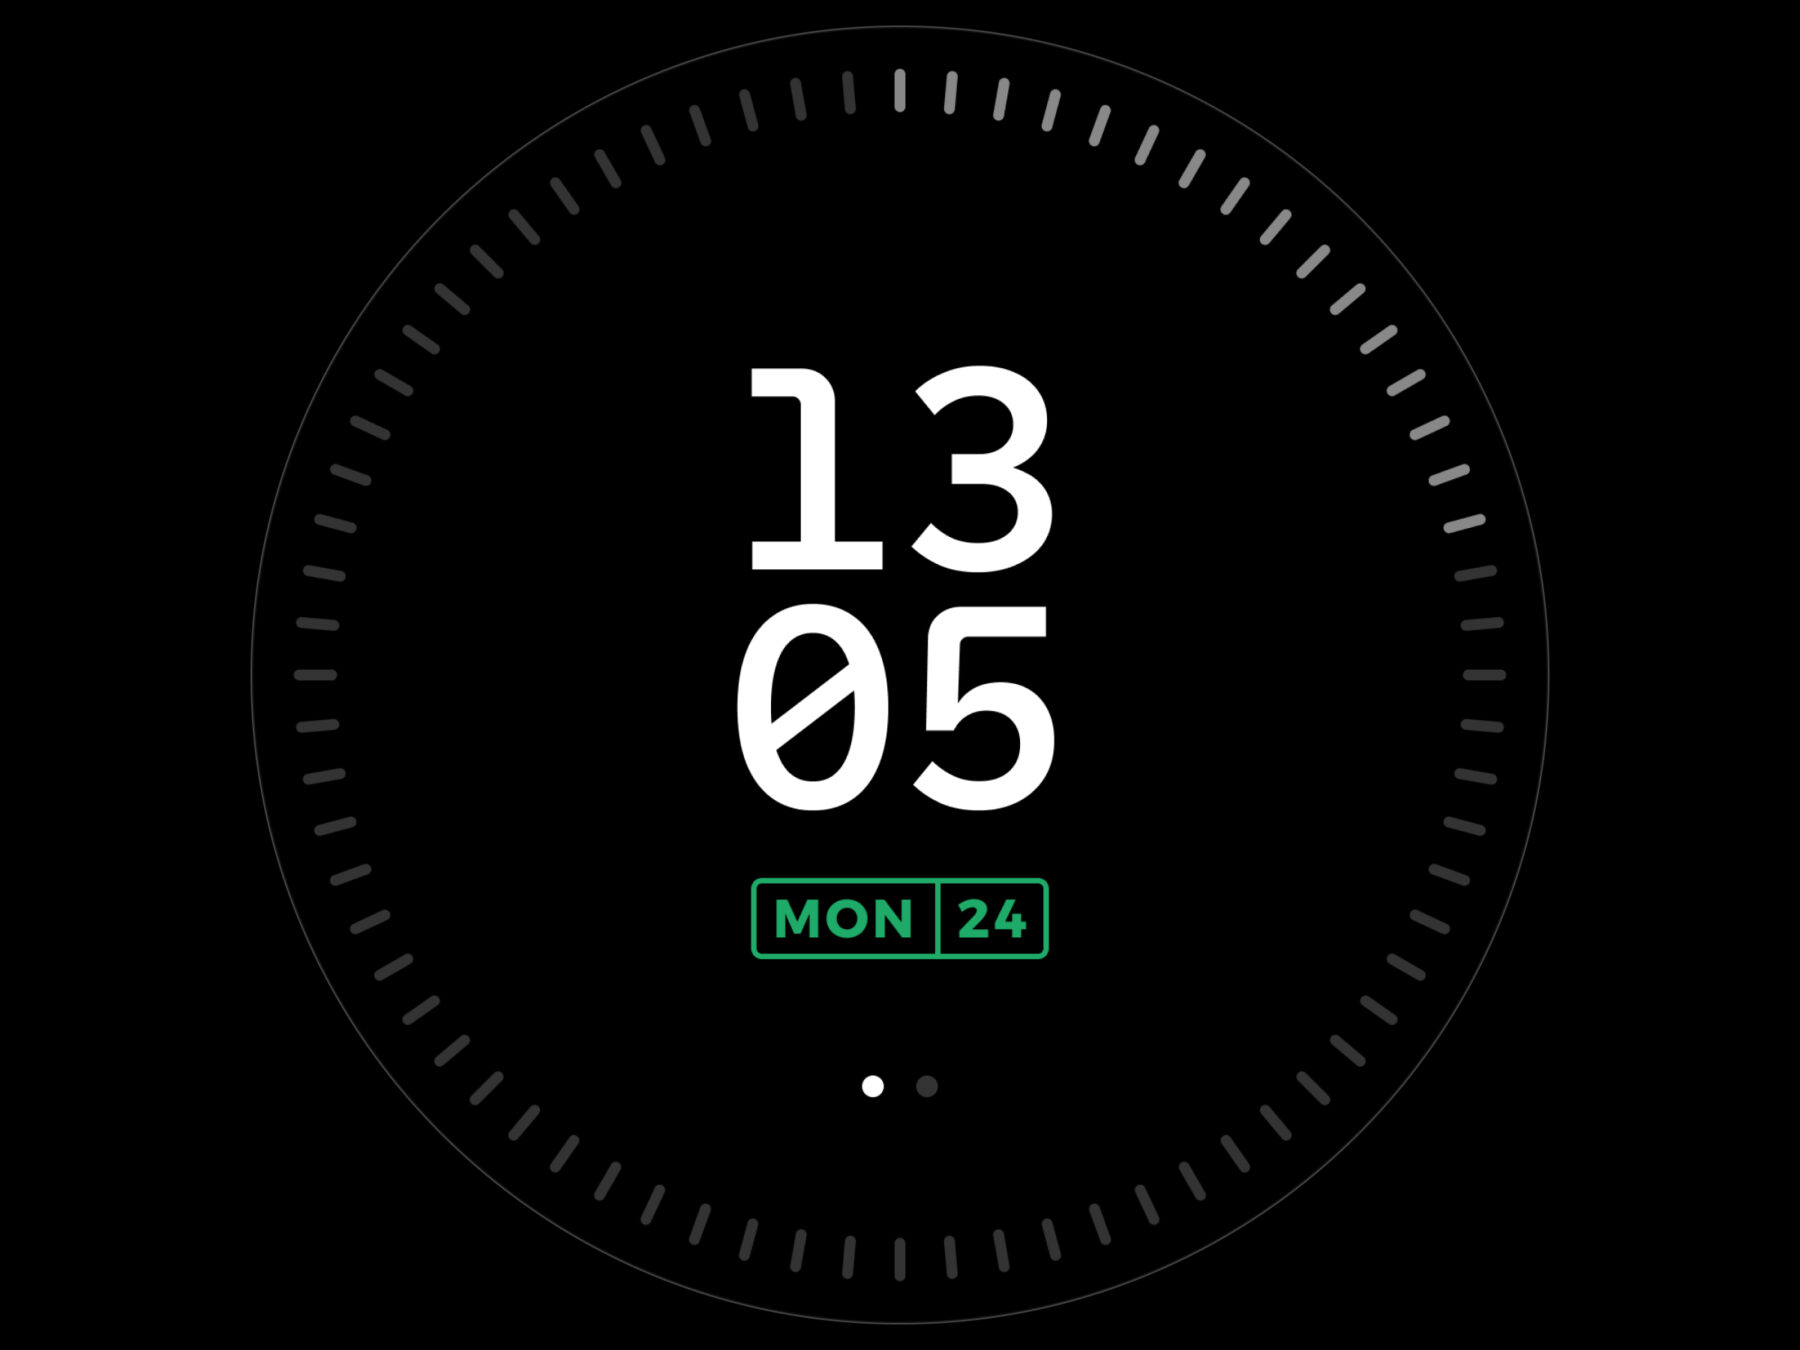
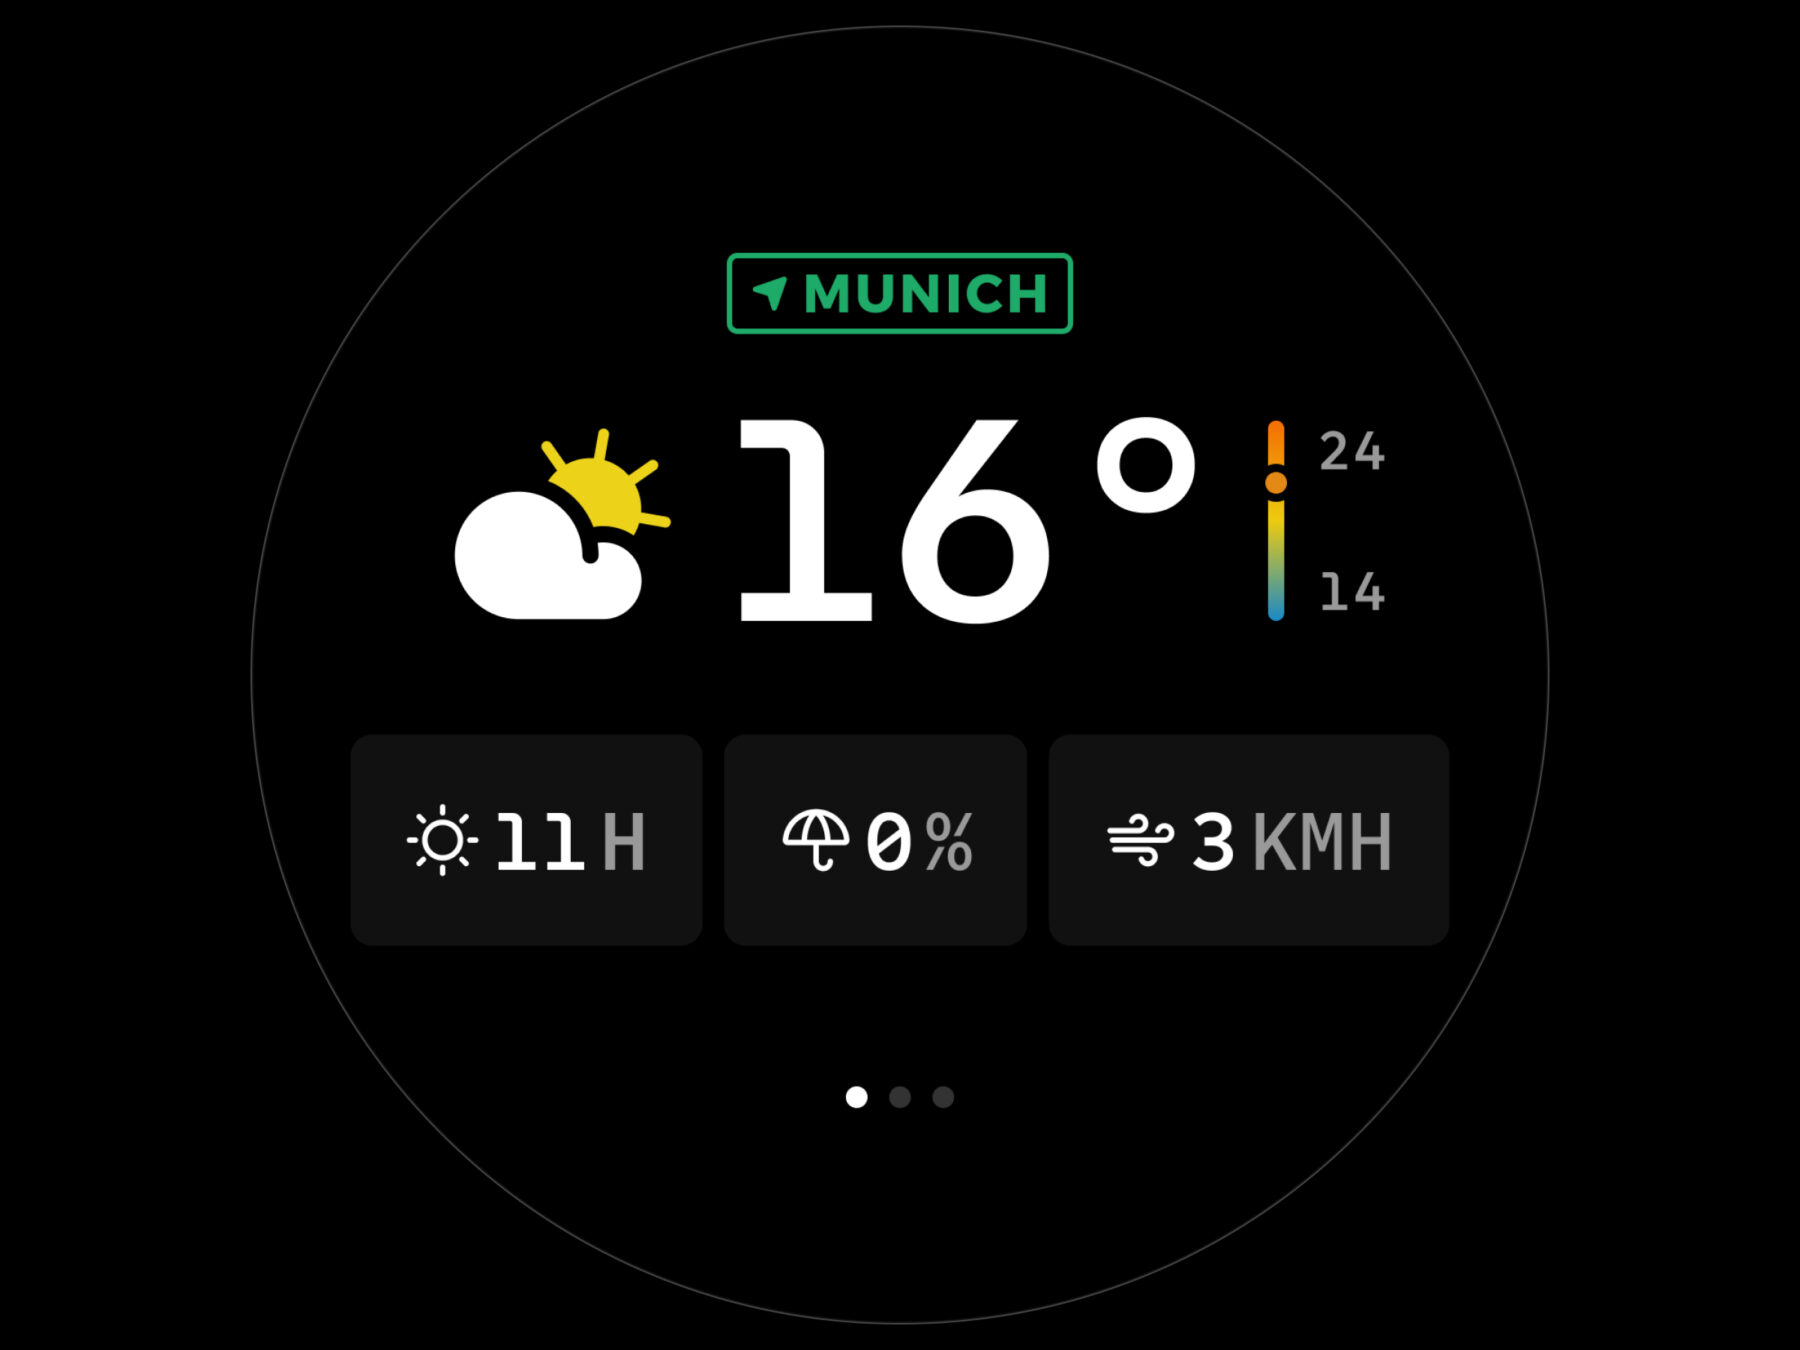
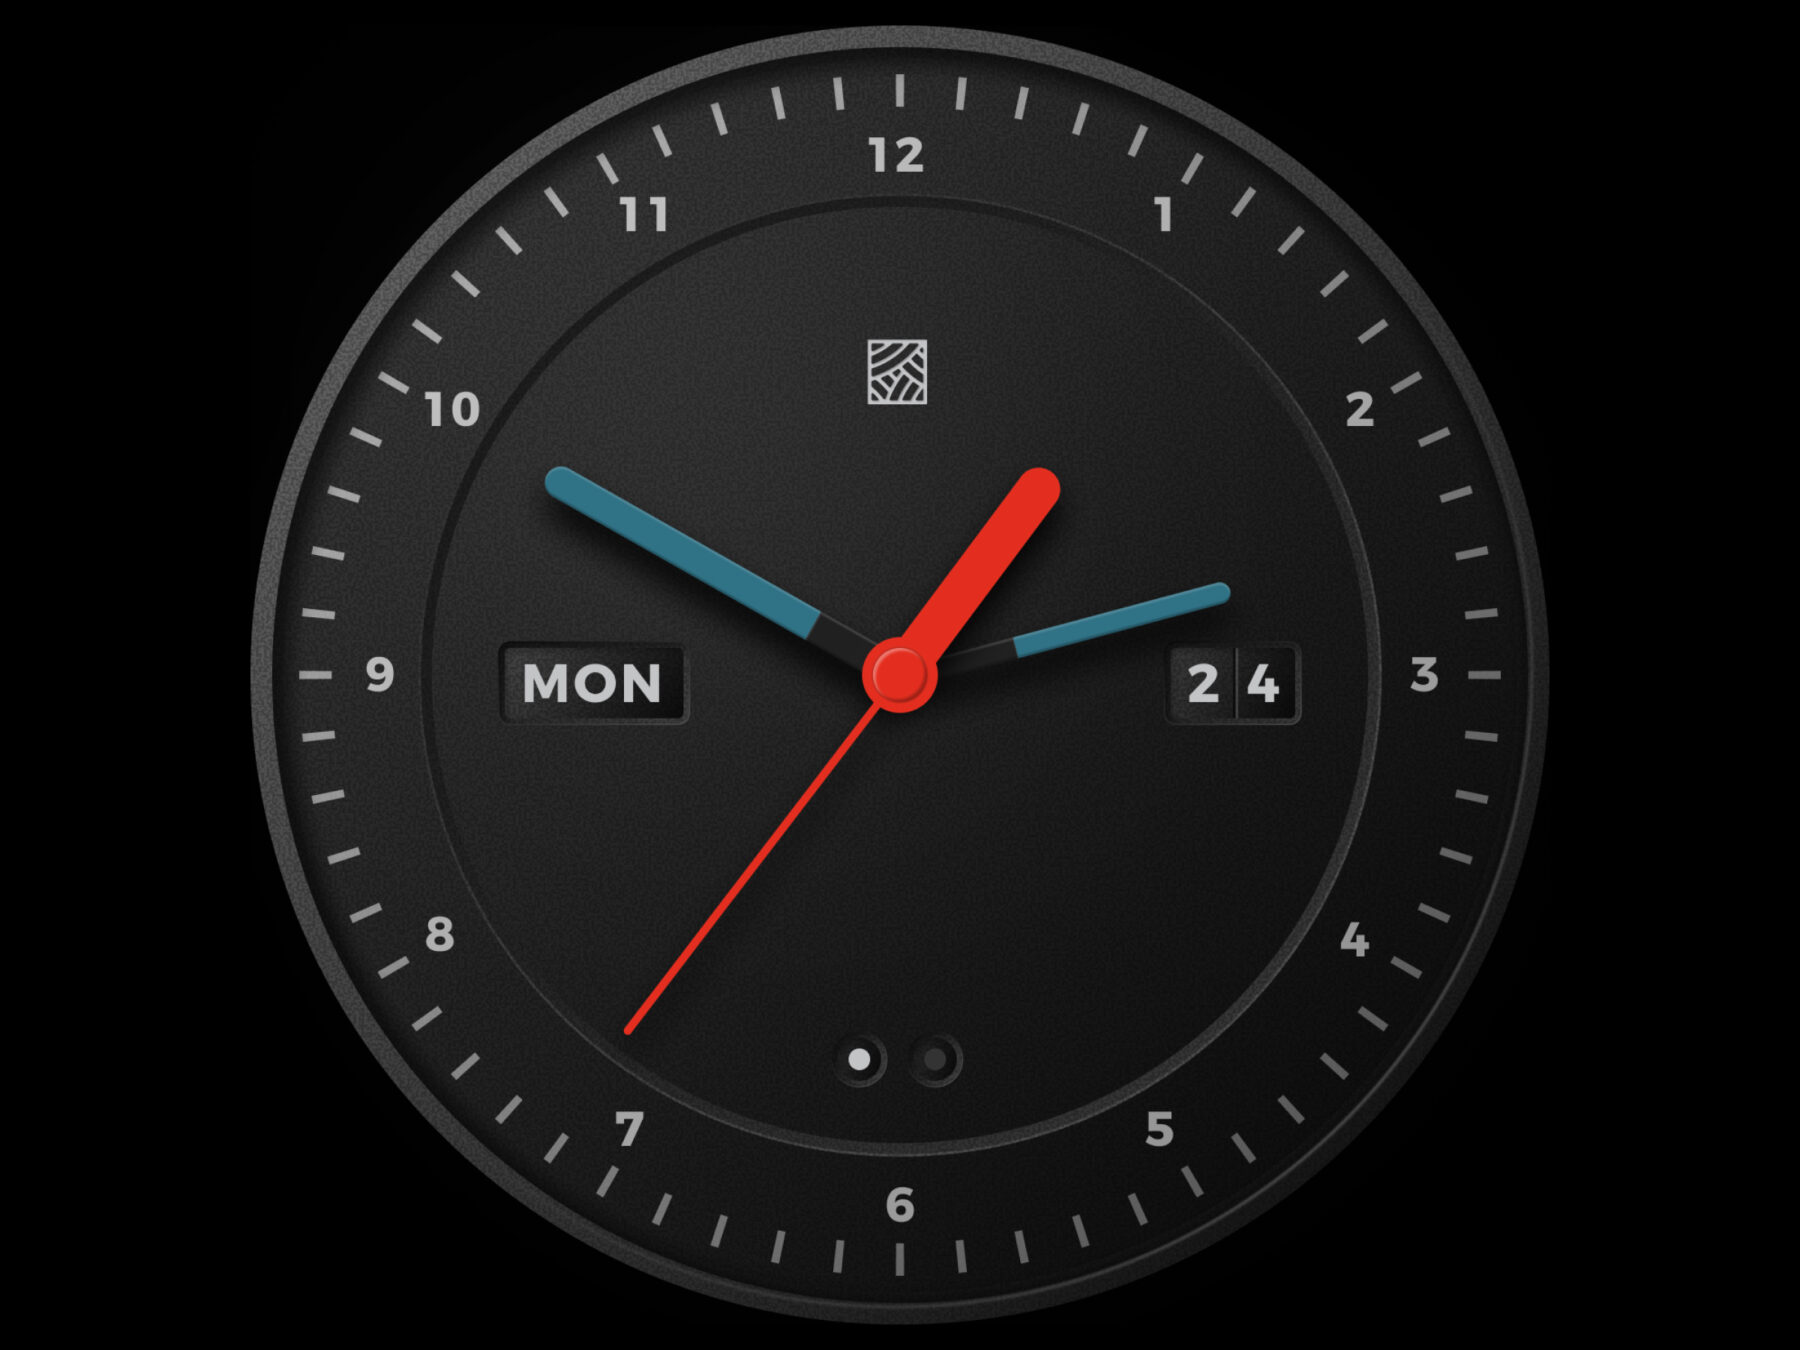
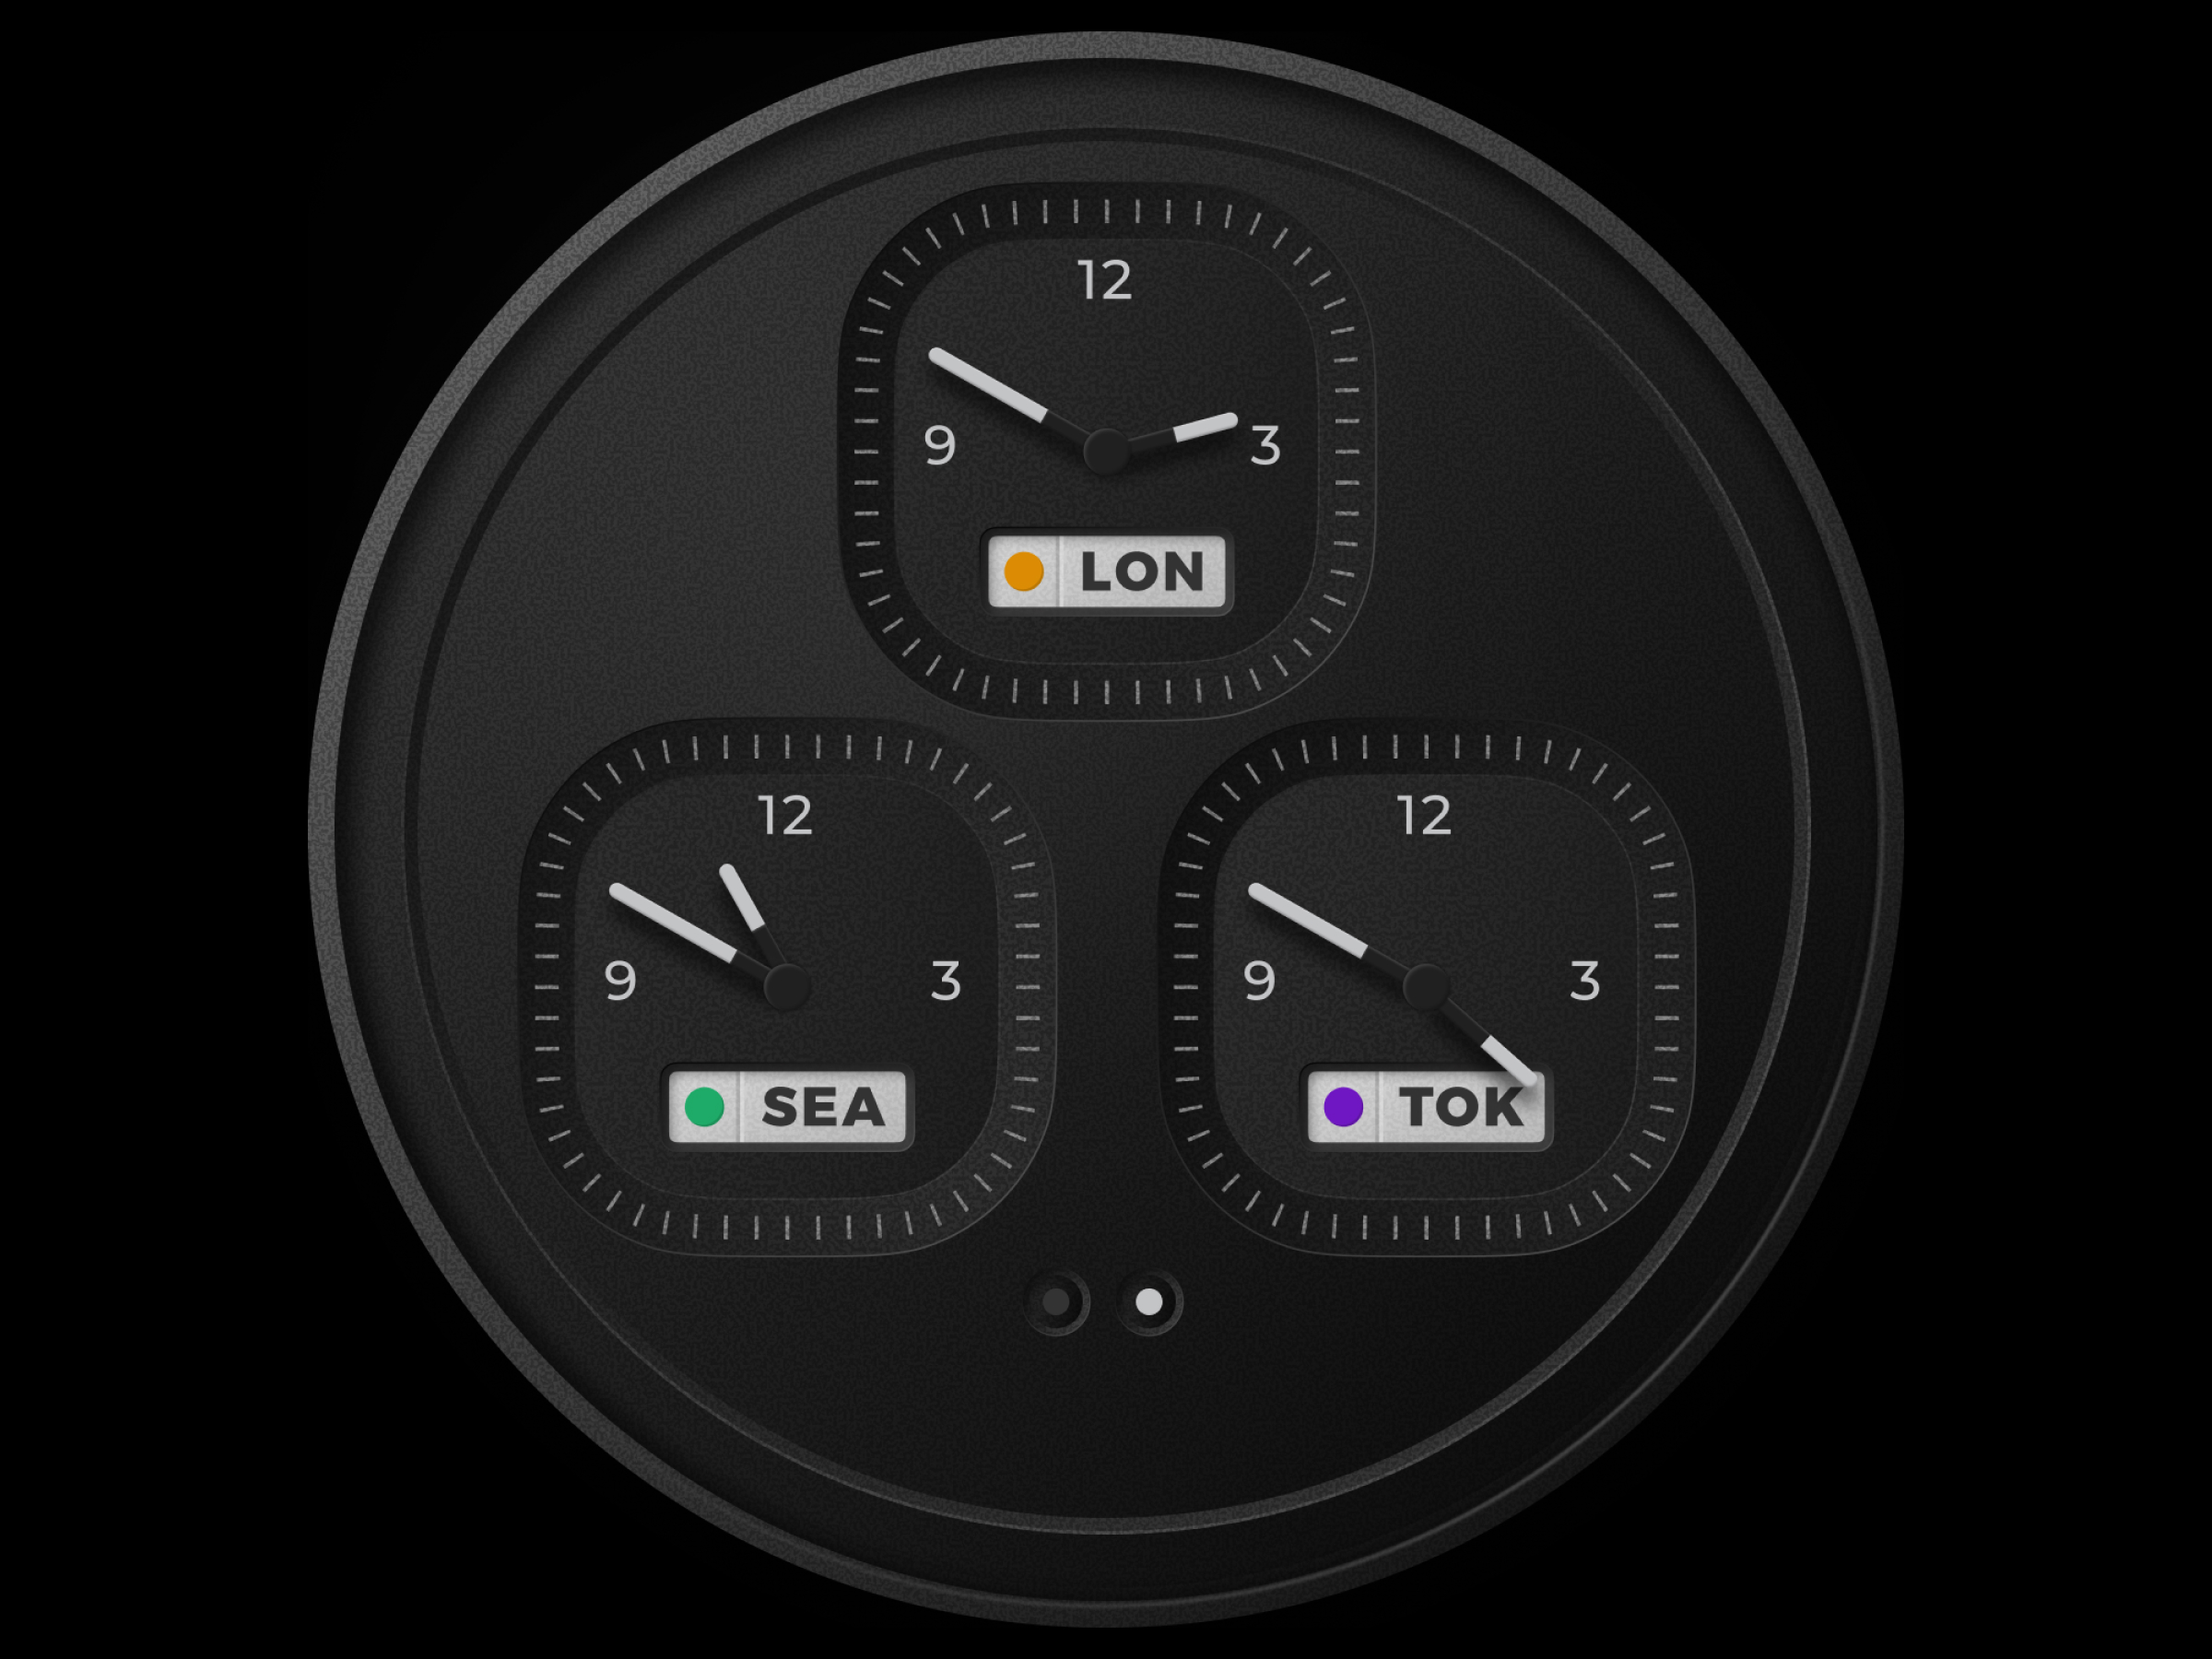
After a lot of time on the hardware, I needed to play with some pixels. So I spent a bunch of hours exploring screen designs.

I love the look of the first two, which are based on a Braun clock and analog watch faces. Unfortunately, they may be a bit too complex for a small screen size and limited power of the RP2040 processes. The second set adjust the background to the time of the day, with a nice sunrise in the morning and warm dusk as the sun sets. While I like the color and warmth, the colorful background limits flexibility. This makes the third set, which is more flexible and readable, where I'll start.
Easy custom tooling

Ask any woodworker, and the key to fast, high quality, repeatable cuts is to create custom tools, such as simple jigs. With AI, it is easy to do this for software projects.

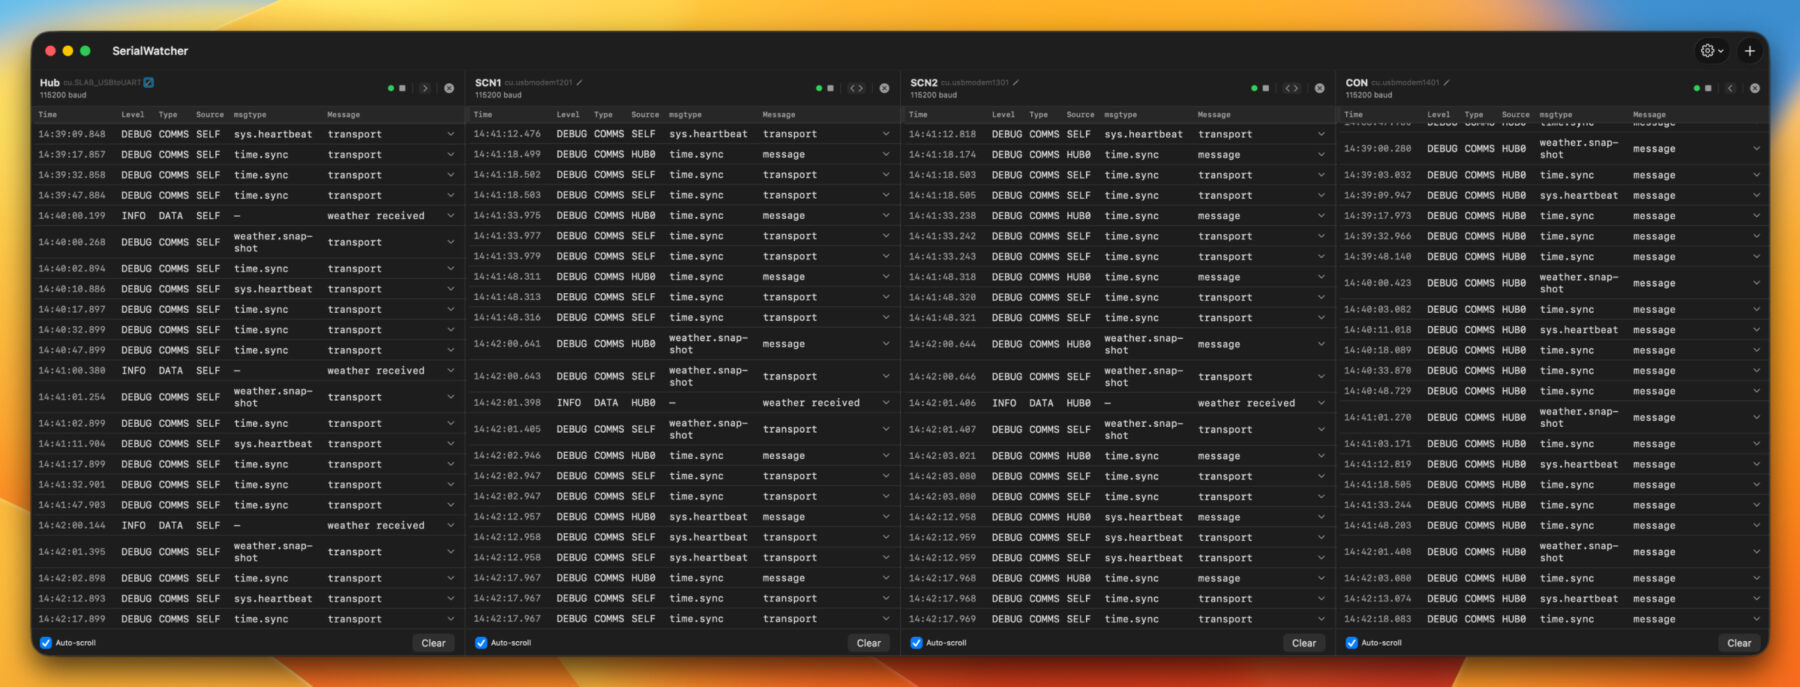
Here's an example. WeavePanel uses self-contained modules, each with their own microprocessor, software, and functionality. This also means each one has their own serial debug feed. However, most software tools display one serial monitor channel, so I was constantly switching between different windows to see the full picture of a WeavePanel network.

I wanted a single screen to see serial messages from all modules at the same time. I was unable to find an app like this, so I built my own with Claude in Xcode. After a couple hours of work, I could see all the channels at the same time. This custom tool immediately helped identify and fix a timing collision that had been plaguing the communication channel.

Planning the power bus

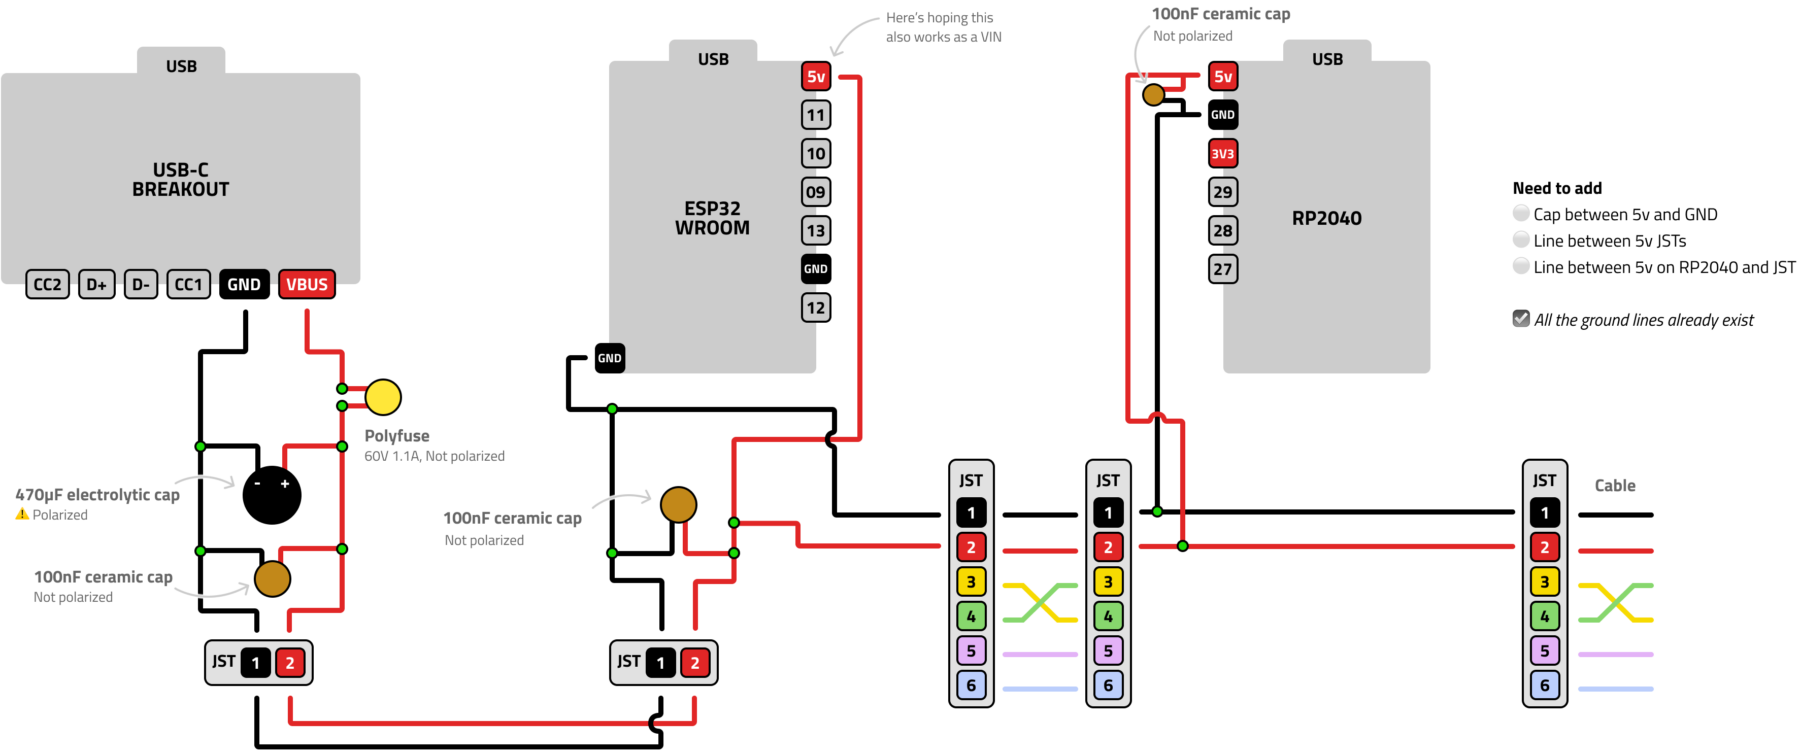
There are two main lines in WeavePanel: The communication line and the power bus. These send messages and electricity across the system. I created the communication line first because the results are more interesting (lights turn on, screens show information) and if I mess something up, nothing is damaged. However, if I run a power line incorrectly, I could damage or destroy a component. So extra planning here is a good idea.

Below is my diagram of the USB-C breakout board to the ESP32 hub and finally to a RP2040 module. I've included a few layers of electrical protection for added safety and stability.

Starting the conversation

WeavePanel will be a modular system, meaning you can mix and match the functions you want for your panel. Swap in a screen for richer info, or add a button module for controlling lights or other devices. This means communication between the various modules is a critical part of the overall design.

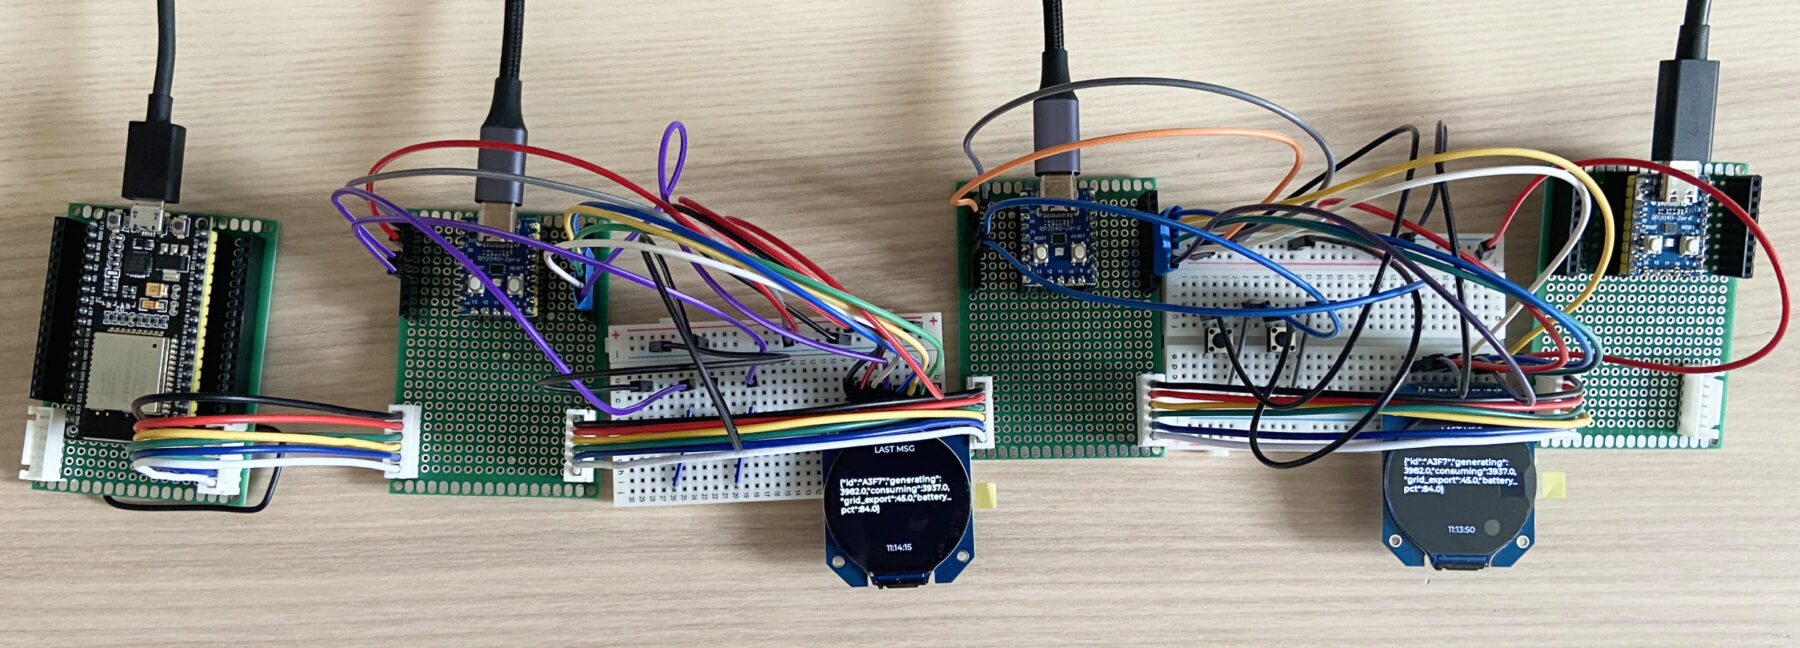
At 23:59 on April 1st, after much soldering and coding, I pushed the latest firmware to the devices. For the first time, I saw a JSON packet successfully transmit up and down the communication chain. A foundational piece of the architecture is finally in place.

Seeing the light

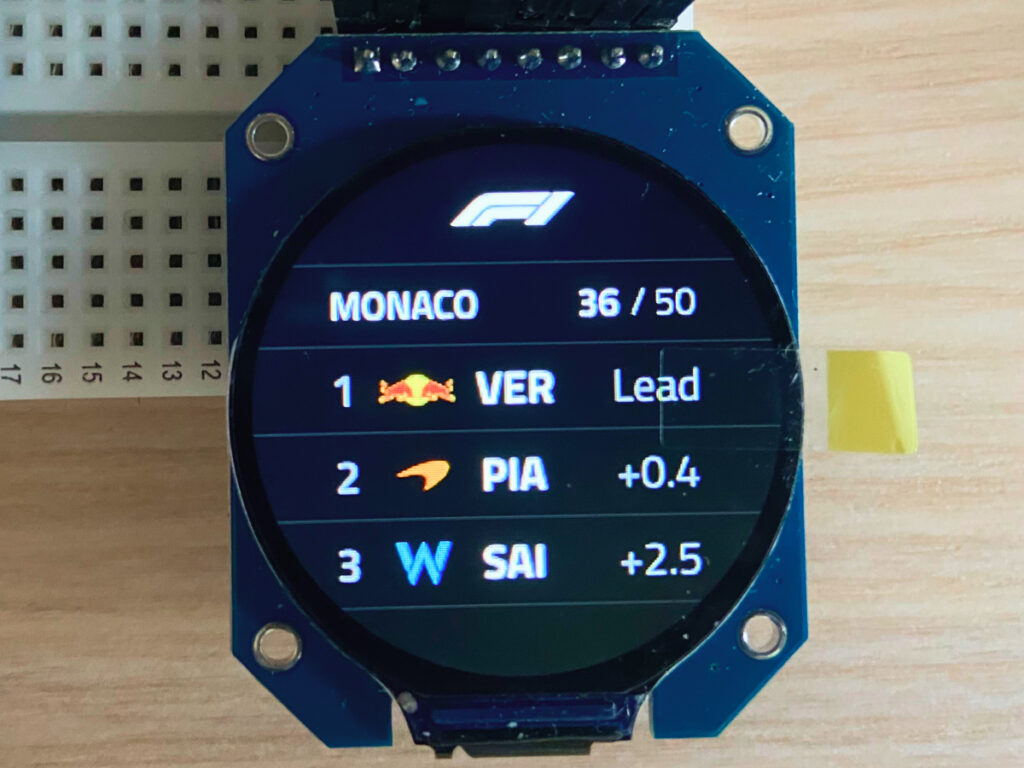
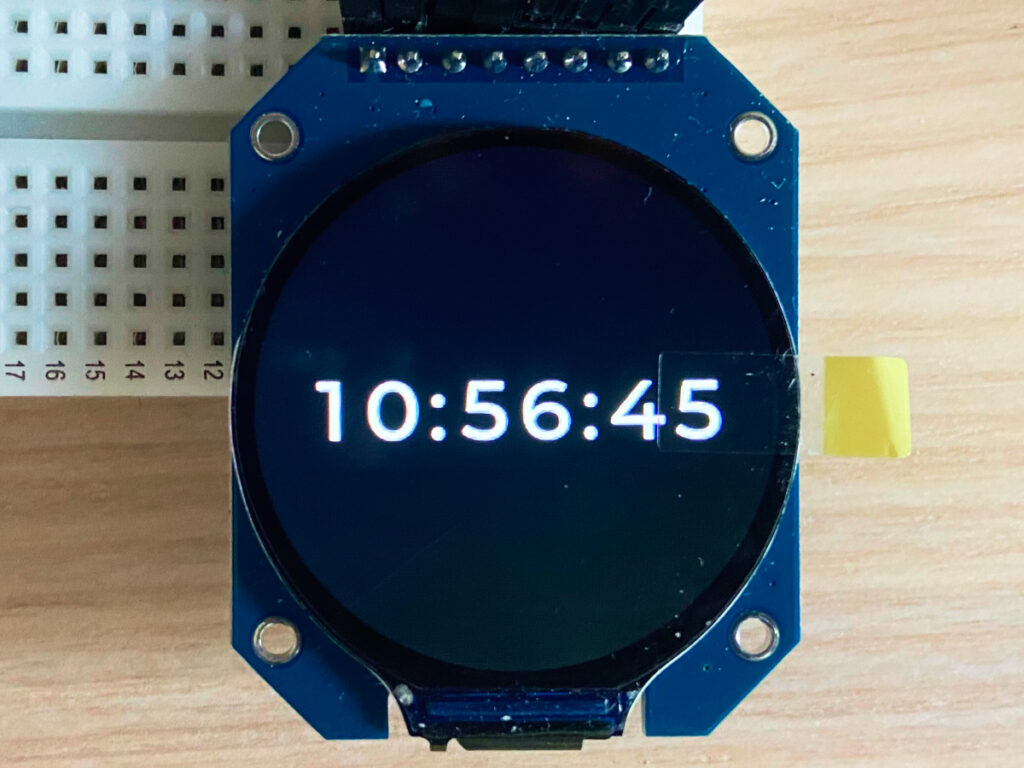
A core goal of WeavePanel is info at a glance. I decided on these circular screens (GC9A01) since they lend a more organic, less rigid feel. I also wanted the challenge of working with a less traditional grid-based design.

One concern was the resolution of the screen. I’m aiming for a feeling of quality, and a dim, pixelated, low-contrast screen would not help. Thankfully, the screens are sharp and bright, exactly the quality I'm aiming for.