The more I rely on my smart home, the more I notice the added friction. Turning on a light used to be flicking a switch. Now it is asking Alexa or opening an app. Checking the time was looking at a clock. Now it is looking at my computer or finding my phone.
I could scatter a clock and some smart buttons around my desk, but that’s a new kind of mess. I want to keep the flexibility of a smart home, with the ease of physical devices. And I want it to look great. And for good measure: nothing propriety, and no cloud services.
Inspiration
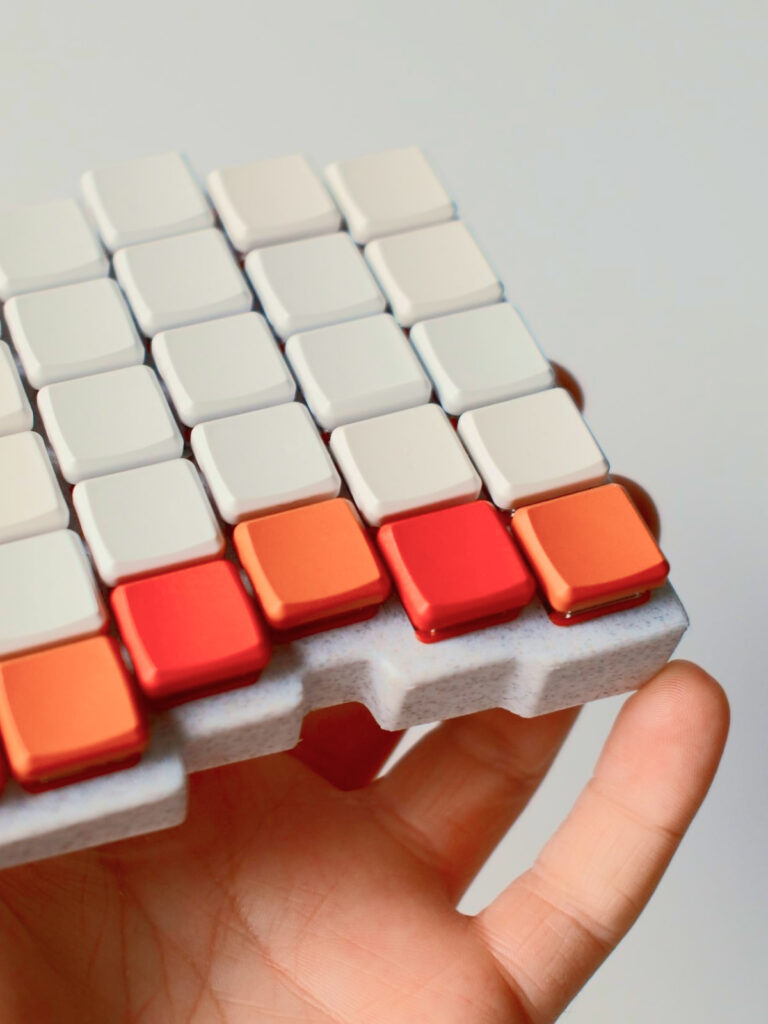
Two worlds provided most of the inspiration: custom keyboards and music mixers.
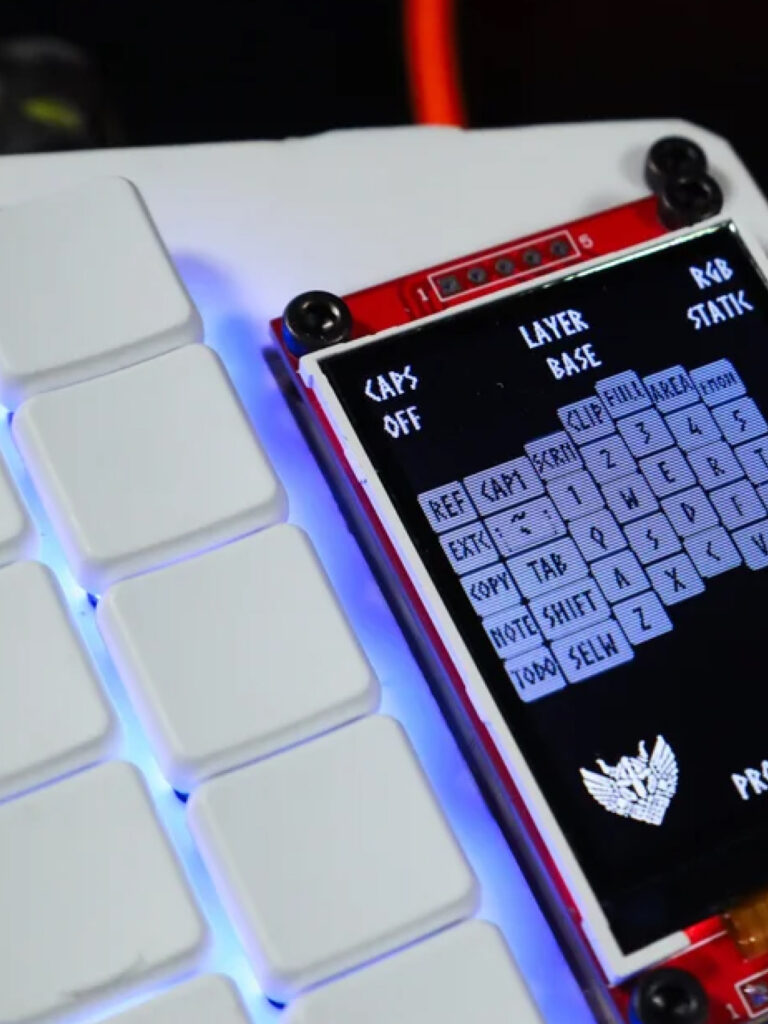
Custom keyboards sit at a unique intersection, beautifully designed, technically complex, and DIY-accessible. Enthusiast made keyboards like Caldera and Hermod are particular highlights.
DIY music setups share that same maker spirit, with a similar emphasis on visual refinement. The Eurorack, a synthesizer system with roots in the 1990s, has cultivated a particularly rich community of designers and technologists who care deeply about both form and function.
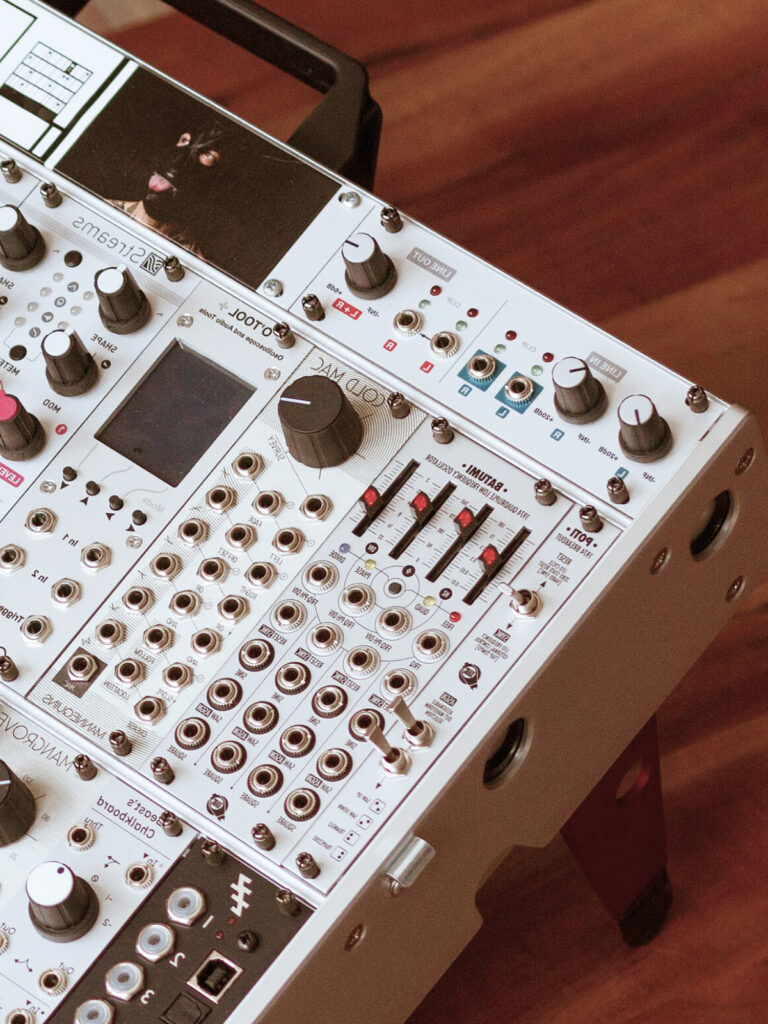
The Eurorack added something unique: modularity. You can have small racks with a few modules or a wall-sized installations with dozens of units. Modularity helps address one of the main limitation of physical interfaces: their inflexibility.
Want lots of buttons? Use a button module. Want info at a glance? Add a screen module, or two. Want a command station? Add a dozen modules. Or perhaps you want a bedside button or two, just use one module. If your needs change over time, just swap out modules.

Glass cockpits in modern aircraft provided additional ideas, particularly the marriage of physical controls and screens. Their thoughtful layouts and clean, direct graphics keep focus and limit distractions.
Initial thinking
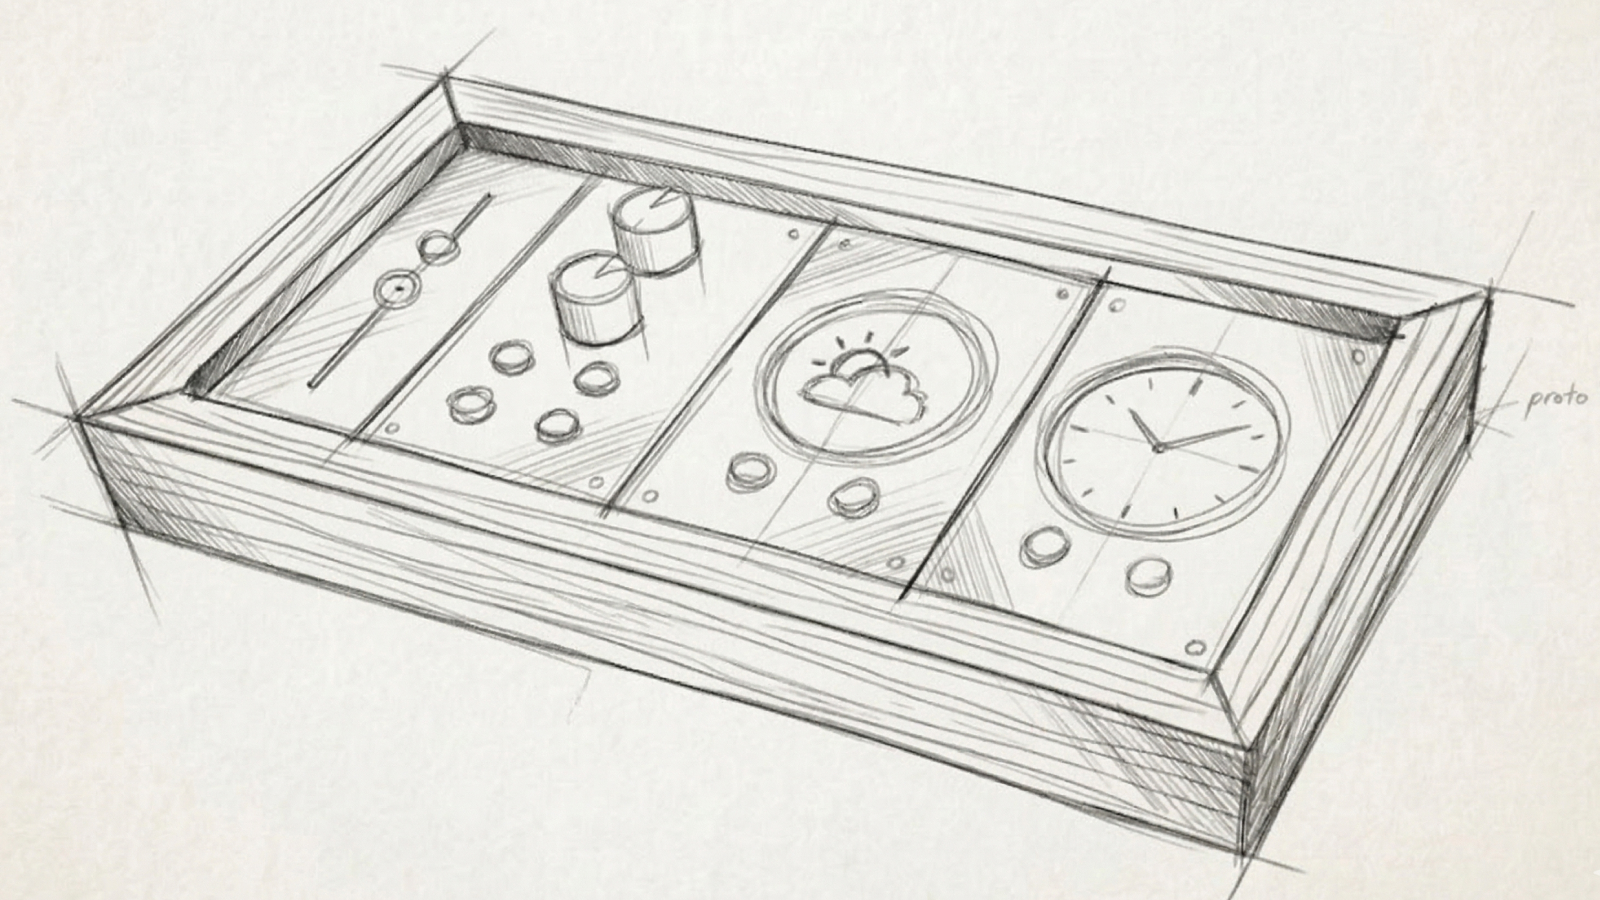
After months of mulling options, incorporating various sources of inspiration, and watching lots of YouTube videos, an image started forming in my head. And importantly, it was something I could design and build, on a DIY budget with limited tooling.
The key parts of my concept:
ModularAt the center, an ESP32-based central hub. It handles communication with home automation systems like Home Assistant via WiFi and MQTT, while modules provide the interactive layer: screens, dials, and buttons. | CustomizableEach module will be swappable to create the feature set needed. A bunch of buttons? Great. Screen-only setup? That’s great too. For panels with screens, themes provide further personalization. |
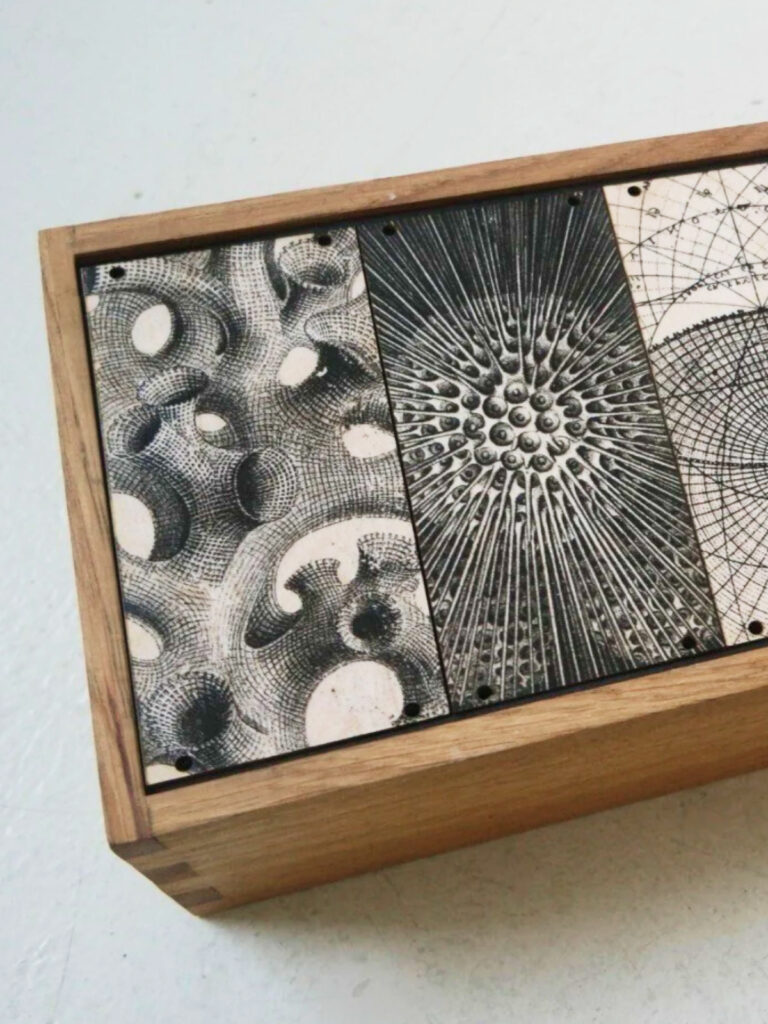
Quality materials, easy buildWood, aluminum, and high-quality plastics make the panels something you’ll actually want on your desk or side-table, or mounted on a wall. Common off-the-shelf components, such as ESP32 micro-controllers and mass-market screens, will the construction accessible. | Open sourceThe code will be open source, and I’ll document the communication protocol and components. If you’re not interested in building your own, I’ll probably offer pre-built panels too. |
Local, no subscriptionsI’m sure everyone is tired of monthly fees, handing over data to unknown companies, and adding fragile dependencies to their home. For WeavePanel, set-up and customization will done locally, using a web-app hosted on the hub. No 3rd-party logins or apps. Aside from some necessary outside services, such as weather data, everything will work locally. | |
What’s next
Much of this is new to me. I’ve used many of these components, coded similar functionality, and done a little woodworking. I’ve even soldered a few wires together. But this will be the first time I bring it all together into a refined product.
So the first goal: Have an end-to-end prototype. Most of it will be on breadboards, with dupont wires, and cobbled-together parts.
Plenty decisions remain: Will the modules use a hub and spoke model, or daisy chained together? How will the hub and modules communicate? What will I build by hand vs out-source? And so on.
If you want to follow-along, subscribe to the newsletter.
Comments
This post has no comments.